Other-interesting-pen
pen made on lathe
I chose to build the pen around the std 'Parker' refill due to it being widely available from several different manufactures in ink or gel, many different colors, different line widths and can be had in the 'Fisher Space pen' refill allowing for upside down/under water/ writing ... and operates in weightlessness if needed <grin>. \\
If it was good enough for NASA, it's good enough for me.
If a pocket clip is wanted, the 'fisher space pen clip' seems to work.
 \\ pen \\ - c360 brass pen weighs ~ 2.0 oz, feels nice and heavy to me. \\ - 6061 aluminum pen weighs ~ 0.9 oz (not shown) \\ - top pen 'grip' cut with 'v' cutter, \\ - bottom pen 'grip' cut with 'cutoff' tool. \\ note: mistake in 'L' cut on top pen. \\ note: the white specks/grains you see is salt used to keep pens in position for photo.
Replace ink cartridge
Remove: ( see exploded view of pen to the right ) ->
- remove 5/16" cap head screw on end of pen.
- lossen 8-32 set screw now accessable from pen end.
- remove 8-32 button cap screw, ie used to extend/retract pen refill.
- tip: use another allen/hex key/ to put pressure from the now open end to help take pressure off the pen-refill spring.
- remove refill.
Replace:
tip: don't need to 'gorilla tighten' any of the screws unless you and the pen are in a 'jack-hammer' enviroment.
- spring goes in first.
- refill.
- pen 'bolt', and 8-32 x 5/16" button cap screw.
- note the threaded end goes to the now open end so set screw can be used.
- use set screw hex key to help align and hold the thread-hole for the 8-32 button cap screw in place.
- check operation and make sure the action doesn't bind.
- tighten set screw to hold button cap screw in place and less likely to loosen with use.
- insert 5/16" cap head screw on end of the pen.
Parker 'G2' style refills on amazon:
Parker 'G2' refill options:
build notes:
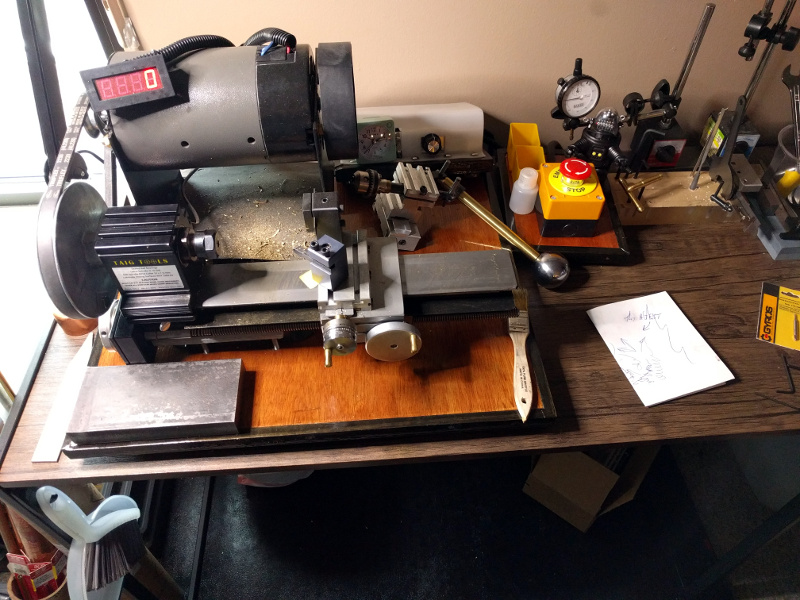
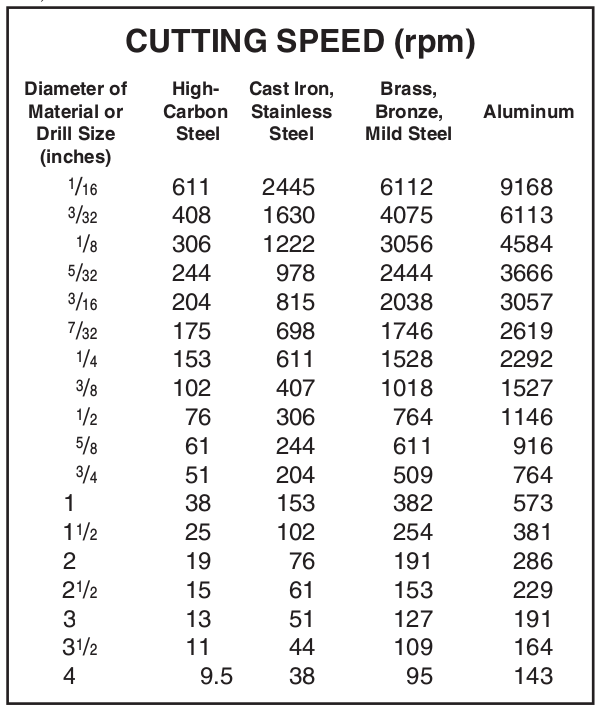 \\ handy cut speeds for the lathe\\ from the taig owners manual.
| tools | material |
|---|---|
| hex keys 3/16", 3/32", 5/64" | 5.5" x 3/8" round rod (pen body) |
| ER16 collets #4, #5, #7, #10 (in mm) | 1" x 1/4" round rod (slide/bolt) |
| 8-32 tap bottom hole | 8-32 x 5/16" button head socket screw SS |
| 5/16-18 tap bottom hole | 5/16-x18 x 3/8" button head socket screw SS |
| 1/8" end mill w/ 3/8" shank1 | parker 'G2' refill |
| #29, #38, 'F' drills2 | spring3 |
| top compound slide4 | 8-32 x 1/4 set screw SS |
| mill attachment | fisher space pen clip |
| 5/16" end mill5 | 3M scotch bright pad red 7447 |
notes:
- I used 3/8" shank to minimise collet changes.
- 'F' drill needs to be 6"+ to drill pen body.
- Compression Spring, 316 Stainless Steel, Inch, 0.18" OD, 0.018" Wire Size, 0.555" Compressed Length, 0.88" Free Length, can be cut down if needed/longer/ are used.
- compound slide only needed if one wants the conventional tapered chisel point on the pen.
- used to countersink threads for 5/16"-18 end-cap, or, if one has a boar bar or cutting tool that can be used for same as the threads on the screw don't go all the way to the screw head. -]
- c360 brass or 6061 aluminum.
- slide or 'bolt' ruff-cut length 1" x 1/4"
- face both ends.
- bevel cut both ends with file.
- center drill one end for set screw threads.
- #29 drill 1/2" deep; using tailstock stop to keep drill from 'pulling' through final dimension.
- drill/tap side hole of slide for 8-32 button head screw used for extending pen refill.
- slide mark 1/2 of length, ie ~1/2" on slide.
- #29 drill 0.057" up from bottom jaw in mill attachment.
- 8-32 tap w/ wood backing.
- start in mill, power lathe till it hits wood backing, finish by hand while tap still in lathe using hole in paintbrush/chip brush/ to get leverage.
- de-burr then buff with scotch bright pad or 320 emery cloth.
- ruff cut 5.5" x 3/8" pen barrel lengths.
- face both ends.
- center drill both ends.
- 'F' drill 5" deep; using tailstock stop to keep drill from 'pulling' through final dimension.
- tap 5/16"-18 3/4" deep main pen body
- use cutting oil, power feed via lathe, back plunge depth off tailstock stop so it's easy to tell we've reached depth.
- use 5/16" end mill counter sink/cut threads so ss bolt/end cap/ will seat when threaded.
- cut slide/bolt "L" slot in pen body.
- 1/8" end mill
- mark 'L' start 4.5185" from pen point end.
- mark 'L' stop 4.1075" from pen point end.
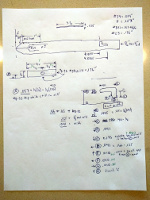
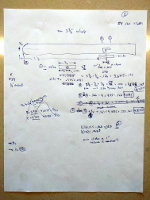
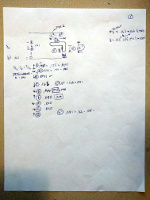
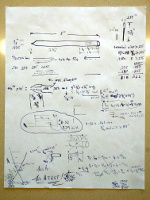
- see cut path on 2nd sheet of cut details picture - "notch 'L' cut path" seen to the right ->.
- note that the pen needs to be rotated to complete the 'L'.
- #38 drill end of pen for refill to extend out of pen when in use.
- clean/test fit/ refill with spring for operation.
- tapper end 12o ~0.460" to 'F' drill depth, verify refill extension from above test fit. ie after tapper how far out will refill extend when latched.
- insert slide.
- trim pen end if wanted.
- cut pen/hand grips using cut-off tool or std 'v' cutter 0.015" deep, 1" from pen end or to ones own aesthetic.
- turn down 5/16"-18 button head SS screw while installed in pen to pen diameter using 0.005-0.007 cuts @407 rpm or so.
- pen finish with 3M scotch bright pad, ie red 7447 or 320 grit sandpaper/emery cloth.
old orig notes for prototypes:
top level subjects:

