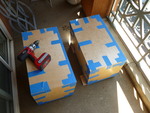
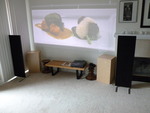
Other-audio-fusion 12
very nice 'large' bookshelf speakers
 UPDATE:
  It's been some time now (since september 2014) and I still love these speakers and tube amp.
  They get used about 10 hours each day since they were built and the sound is without match for 5x the price.
fusion 12 tempest speaker kit size: 14.5" x 14.5" x 26"
I've been listening to these speakers for about a month now(september 2014) and really like them.
For the price I think they are the best value out there
my criteria for looking at new speakers:
- efficient, ie high sensitivity 100db 1m/1w kinda range
- excellent sounding for music
- finished wood cabinetry
- A/V suitable
why these speakers ?
my speakers for the last 5 years have been the baby magneplanars with sub-woofer.
I have liked these speakers but they could not be driven by the new SE tube amp (Single Ended) I was building as that amp would only output 7 or so watts. The magneplanars have a output sensitivity of about 84db@1m/1w. I needed something closer to 100db spl.
I like the idea of single speaker designs, but I wasn't going to find what I needed in one using conventional cone design.
I don't know of any single horn designs, so this brought me around looking at 2 driver designs.
The high sensitivity is best achieved by horn design with efficient woofer.
Found the woofer grill on parts express 260-428 also the band-it edge trimmer for trimming the veneer/edges.
Some Build Pictures
Don't have a shop currently as we are living in an apartment, so build needed to be simple.'
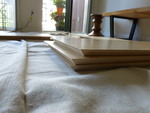
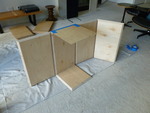
I bought maple pre finished plywood and had the lumber yard cut all the pieces.
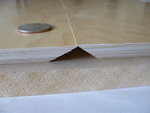
44 degree angle cuts except on 2nd layer front, which was straight cut 1/8" of internal dimensions.
It should be noted that I did not use the flat pack nor front baffle from diysoundgroup/eric.
In retrospect I should have at least used the baffle as a template for my cuts. DOAH ! ! !
I changed the speaker dimensions to allow for interchange of sides with front, ie simpler design/build.
size: 14.5" x 14.5" x 26"
This also allowed for using one sheet of plywood.
I did not use the internal blocking/reinforcement as my sound levels will be much less than 1000watts might invoke.
My system will be driven by sub 10watts and after the build I find I can not be in the same room very long at even that sound level !
At ear pain level the sound is clean and there is no cab vibration, no buzzing, no cabinet effect I can discern.
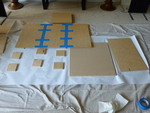
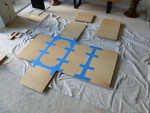
My build was in an apartment (note the carpet in the living room was my shop) wife not too happy, but my options were limited.
Used 0.75" pre finished maple veneered plywood.
No screws/nails were used in the making of the speaker cabs, just glue.
Decided to put ports on back to give a cleaner front.
Flipping by one self is a challenge, help would have been better.
Overview of assembly:
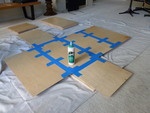
- All panels layed out with 'inside' down.
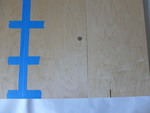
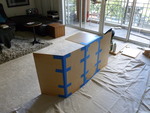
- Joints taped.
- Flipped so tape/outside is down, glue joints/inside is up.
- Glue 'double' front down to give 1.5".
- Glued all edges.
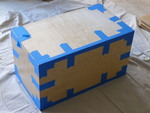
- Folded up to a sealed box.
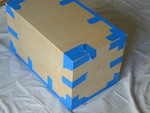
- More tape to hold it all together as it dries.
- Small hole drilled to allow for internal air expansion.
- Allow to dry for a week.
- Holes cut for speakers.
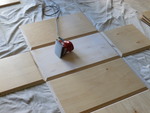
flipped! Roughing up face for double thick front to be glued down. NOTE mark outside so you know were this thick face is from the outside after assembly.
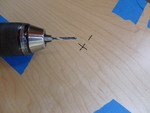
drilled small hole to allow for air expansion since this is a sealed cab at this point. Hole was drilled aprox where port in the back would go.
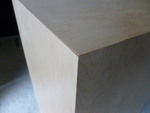
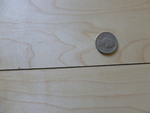
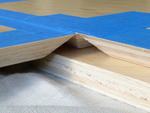
week later and tape is off. Only had one bad corner/edge, but was easy to fix/blend with edge trimmer.
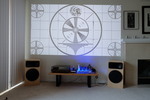
finished. Found the woofer grill on parts express 260-428 also the band-it edge trimmer for trimming the veneer/edges.
top level subjects:
